My Natural Headshot Retouching Process: A Behind-the-Scenes Look
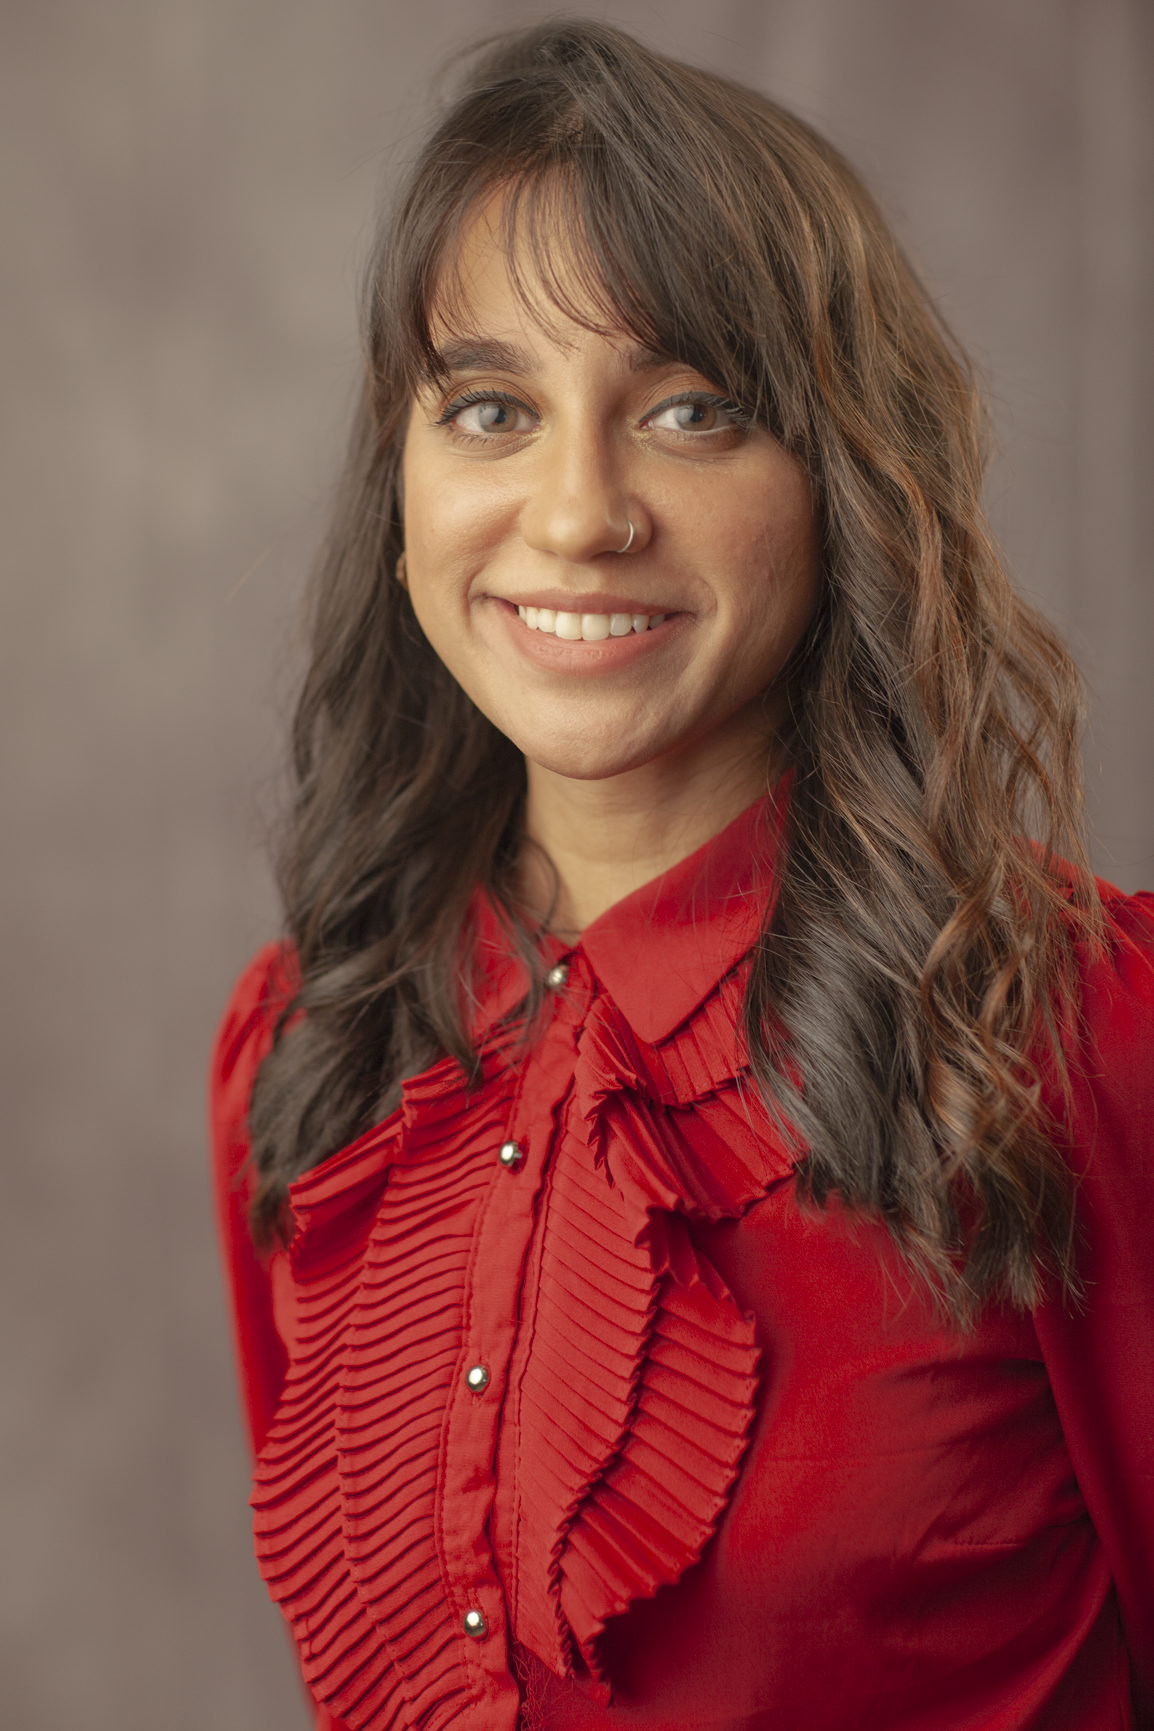
Cameras often exaggerate facial imperfections that aren’t noticeable in real life. My goal with retouching is not to over-edit but to ensure my clients look like their best, most natural selves. In this post, I’ll walk you through my headshot editing process using a technique called Frequency Separation, which allows me to refine skin textures while preserving natural details.
Preparing the Image in Lightroom
Flattening the Image for a Neutral Base
Since I shoot in RAW, Lightroom automatically applies adjustments, so I neutralize those first to have full control over the image.
Before I begin any detailed editing, I adjust the overall contrast to make the image as flat as possible. This means:
- Pulling away contrast
- Bringing up shadows/backs
- Dropping highlights/whites

Fine-Tuning Colors and Sharpness
- Adjust the red color tone with an S-curve.
- Copy and paste this adjustment to the green and blue tone curves.
- Apply sharpening to enhance details.
- Use Lightroom’s built-in corrections to fix lens distortion and chromatic aberration.


Sending the Image to Photoshop
Once the image is balanced and refined in Lightroom, I send it to Photoshop for detailed retouching.
Frequency Separation for Natural Skin Retouching
Setting Up Frequency Separation
Frequency Separation allows me to edit skin tone and texture separately, ensuring a smooth yet natural result. To start:
- I use my custom Photoshop action (Download Here) to separate texture and color.
- Add a Black & White filter and reduce the red channel to highlight skin imperfections.


Cleaning Up Skin Texture
Using the High Pass filter layer:
- I remove any bumps and tiny imperfections using the Spot Healing Brush.

Smoothing Skin Tones Without Over-Editing
On the Low Pass filter layer:
- I use the Lasso tool to select blemishes or under-eye shadows.
- Apply Gaussian Blur (~15px) to blend tones naturally.
- Repeat this process to even out any distracting areas.

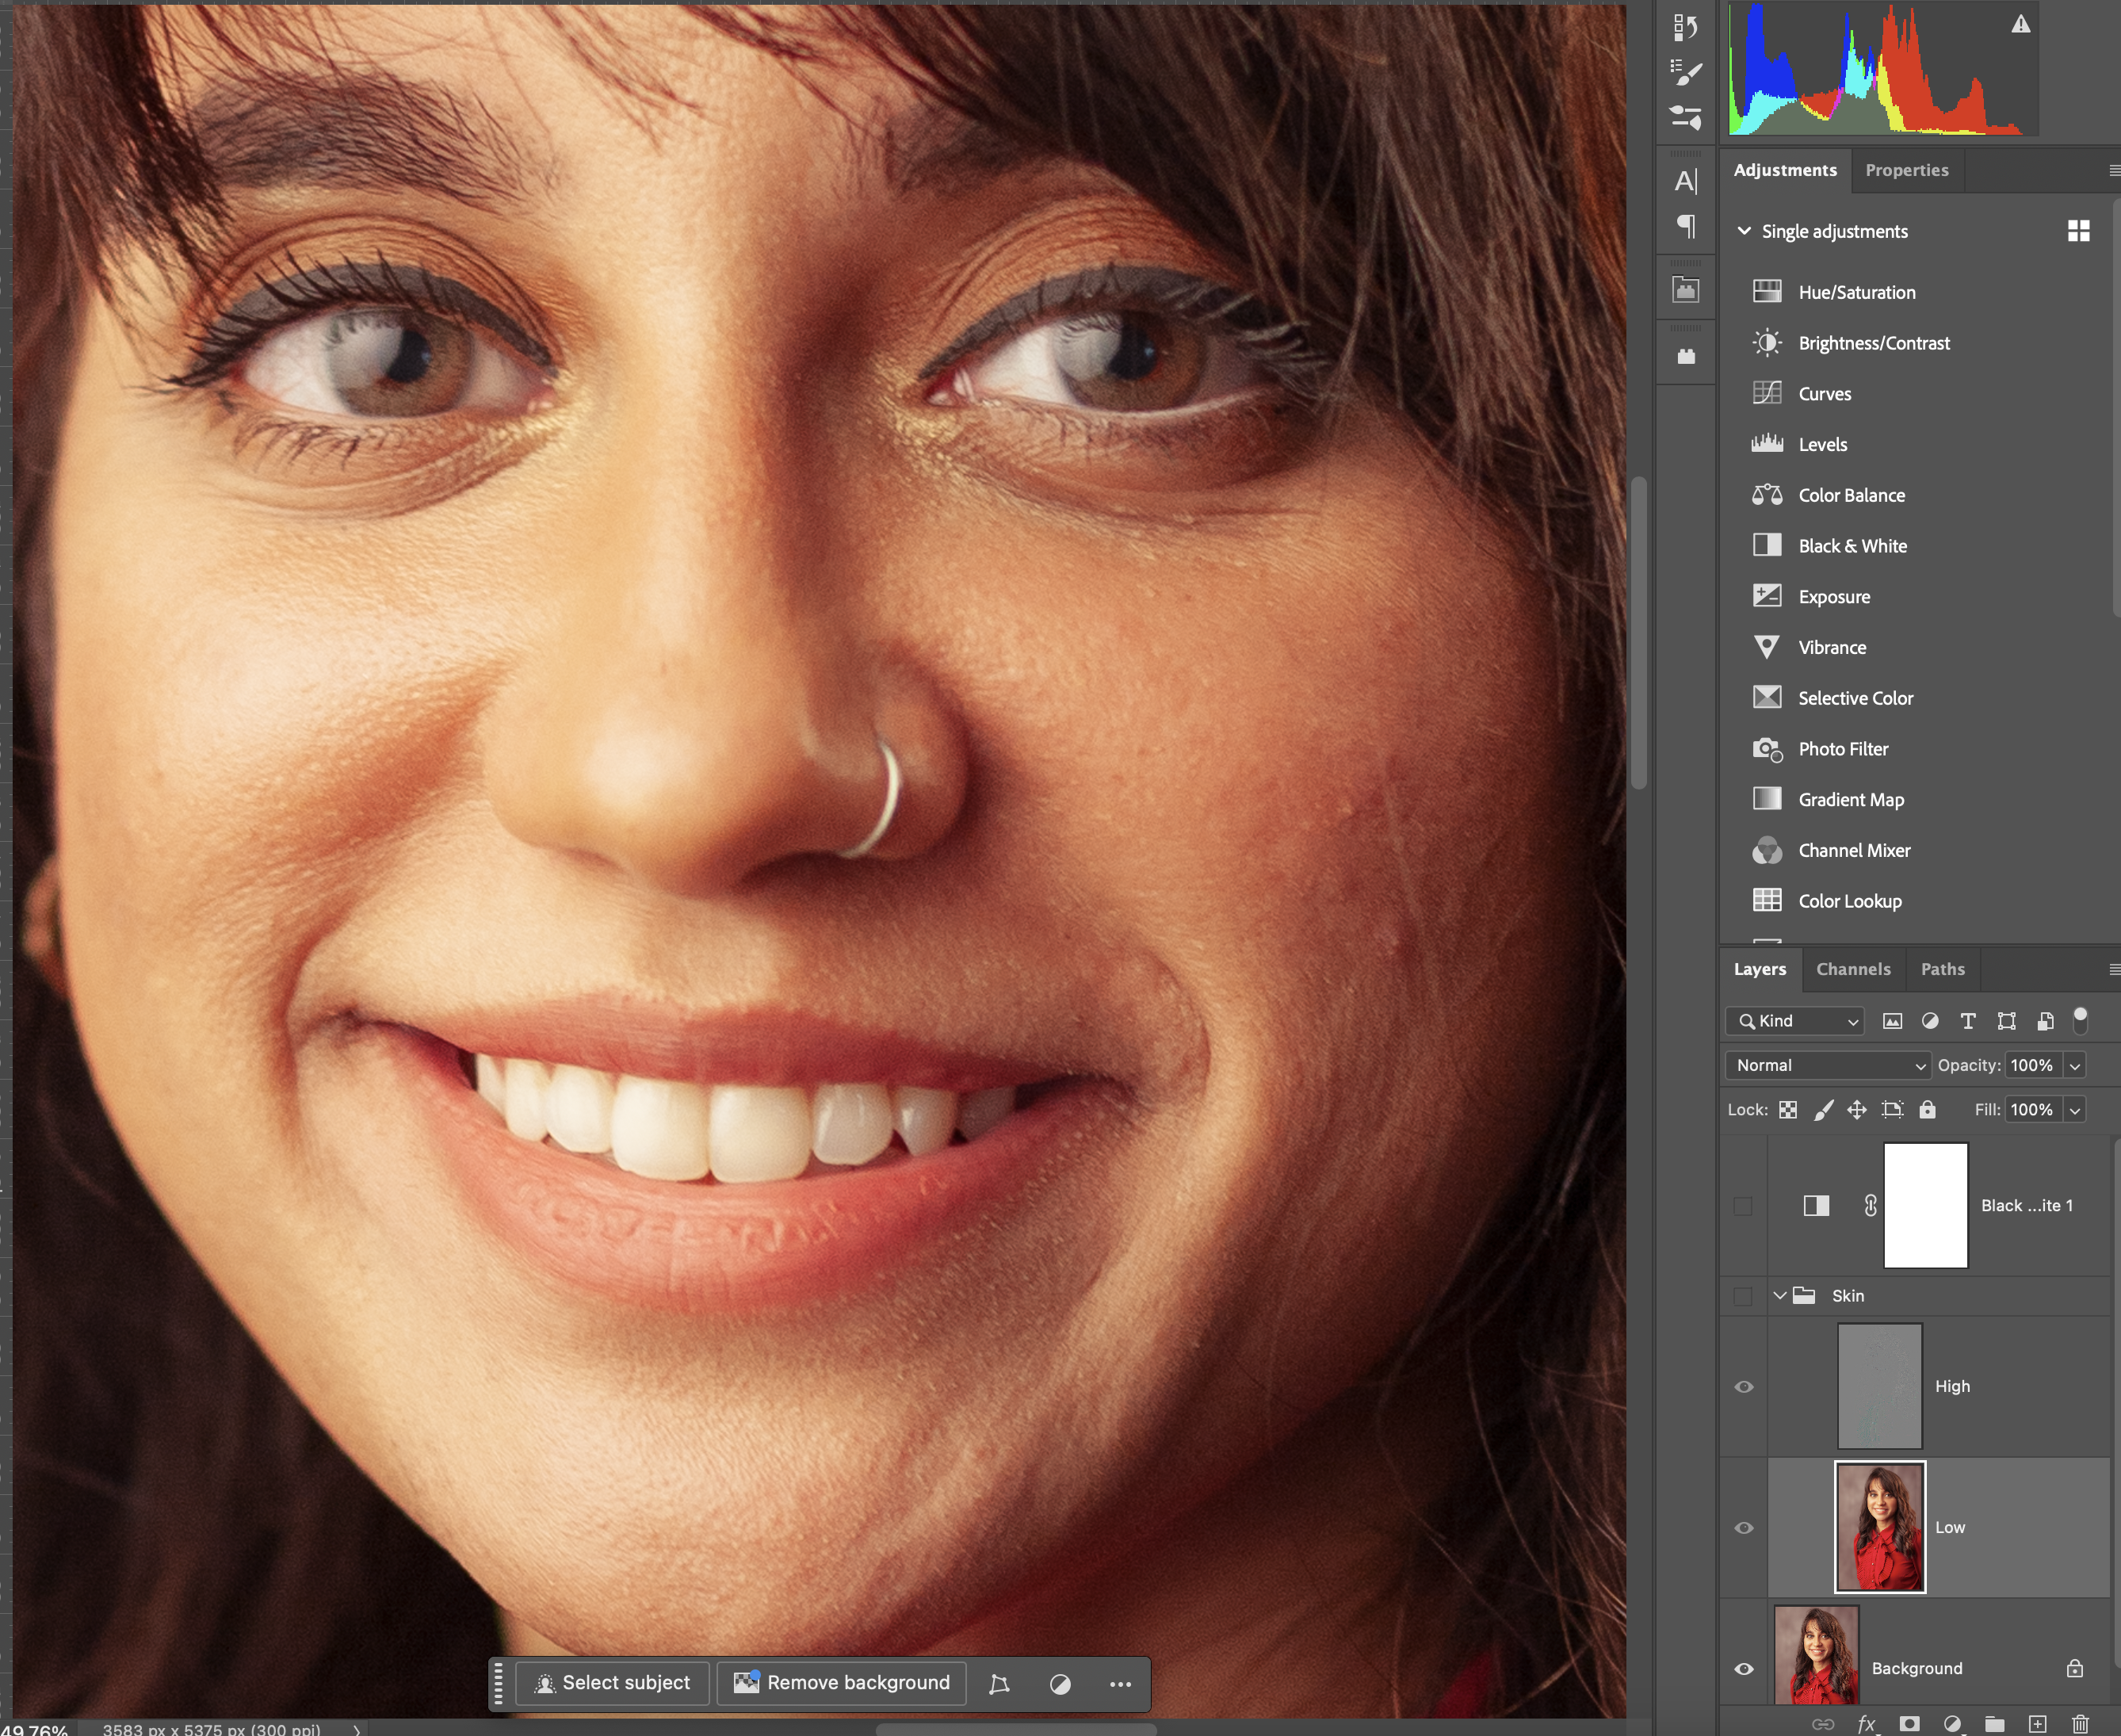
Before
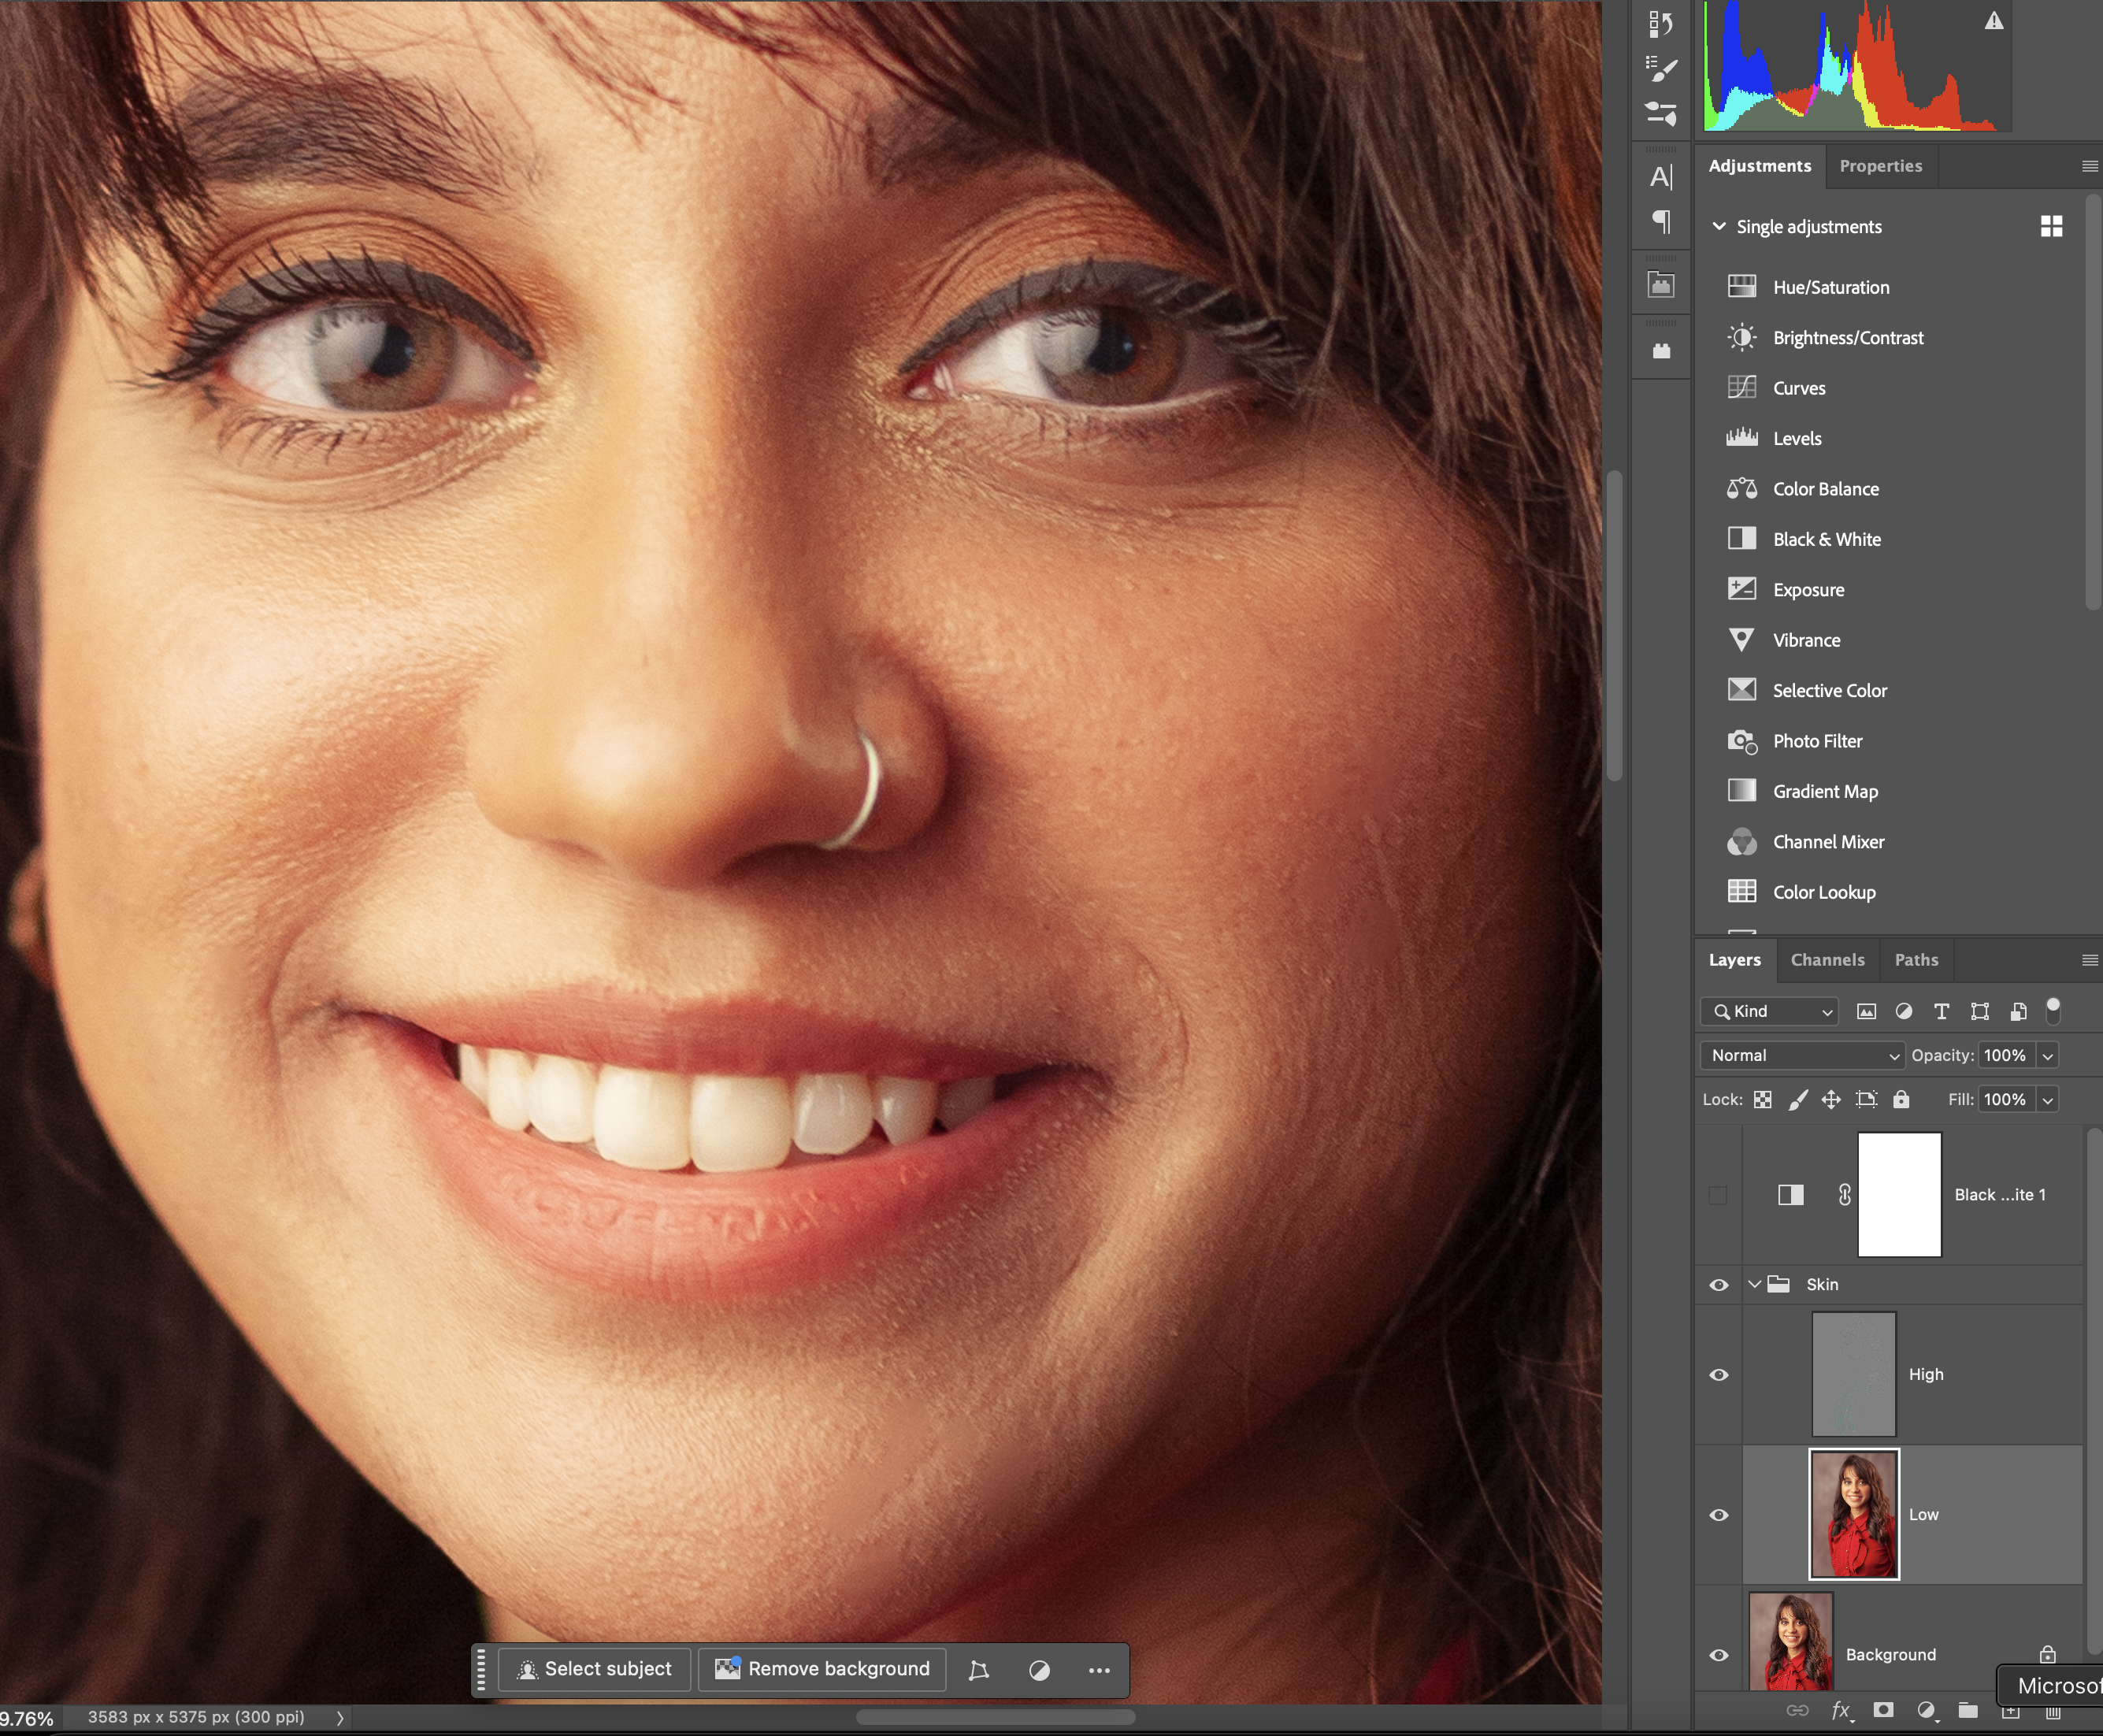
After
Final Touches for a Polished Look
Enhancing the Background and Subject
To make the subject stand out:
- I select the subject, add a new layer with a mask and slightly darken the background.
- Remember White reveals and Black conceals
- Add a subtle vignette for a professional look.

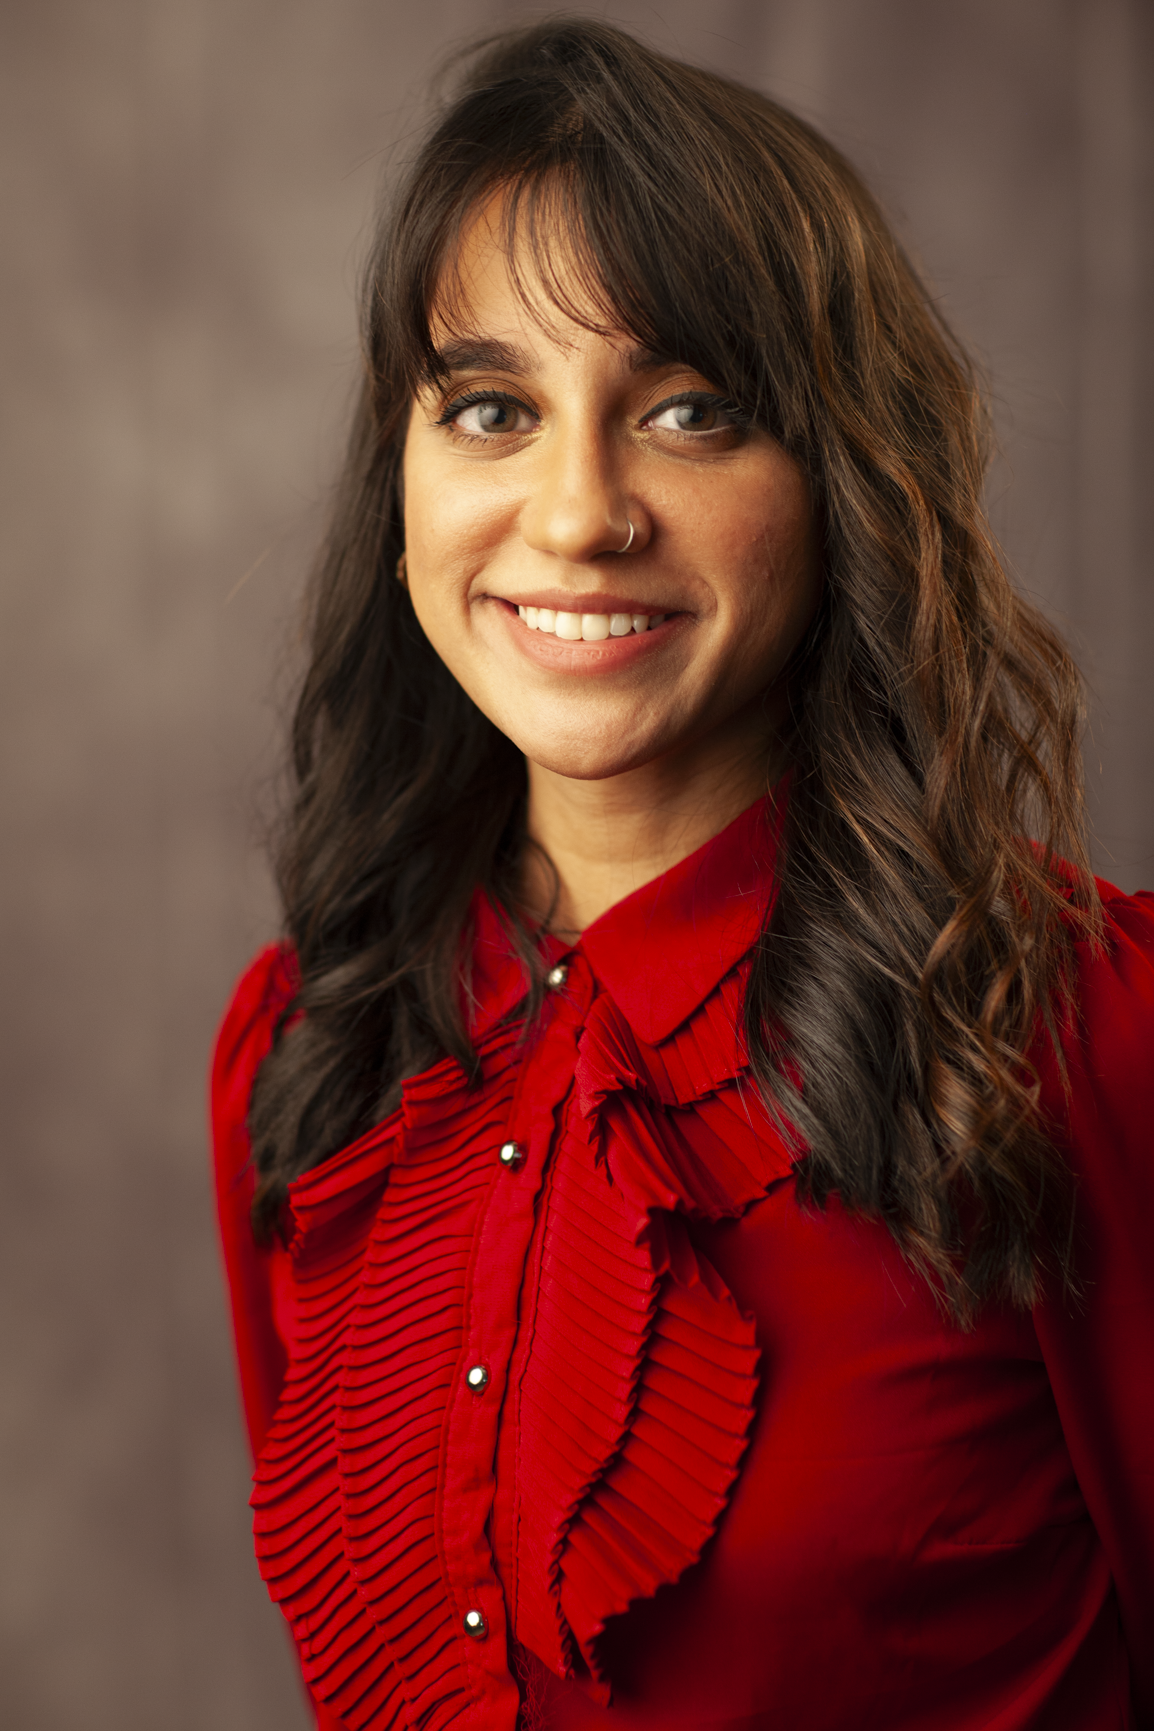
The Final Look: Natural and Professional
The final image maintains skin texture and natural features, ensuring the client looks as they do in real life—just at their best! I use the Dodge tool around the eyes on the midtones at around 10%, and the Burn tool at and just outside the iris as well as the outer edge of the eye to enhance depth and clarity.